
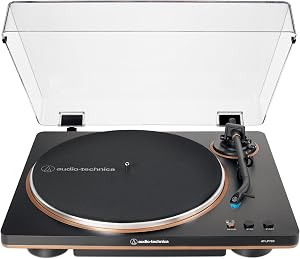
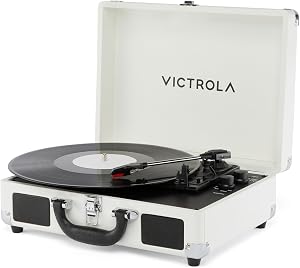
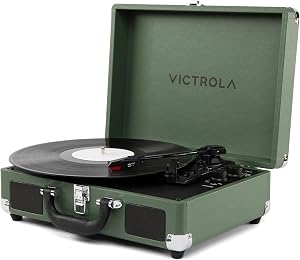
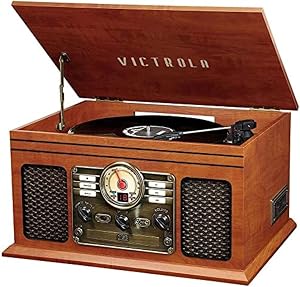
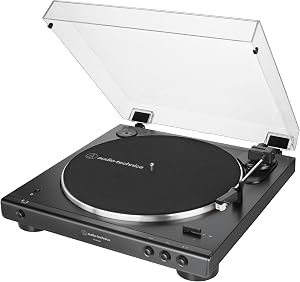
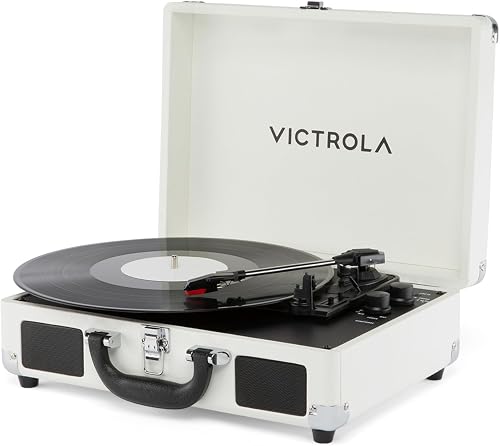
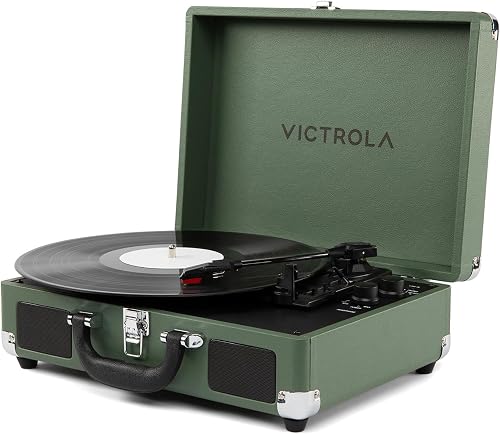
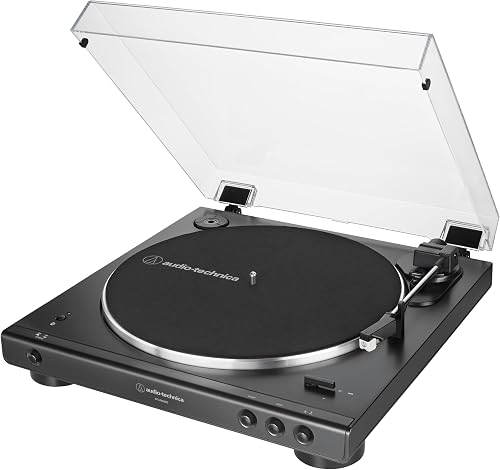
Top Picks
The Vinyl Revolution Is Calling Your Name
There's something almost magical about lowering a needle onto a spinning black disc. That gentle crackle. The warm, rich sound that wraps the room like a favorite sweater. The ritual of flipping the record halfway through, coffee in hand, the world momentarily on pause.
Welcome to the world of vinyl — where music isn't just heard, it's felt, savored, and celebrated.
The best how to set up a turntable for your situation depends on how you plan to use it and where.
Whether you've inherited a dusty crate of records from your grandparents, scored a vintage gem at a flea market, or finally caved to the vinyl revival sweeping the planet, setting up your first turntable can feel like defusing a bomb. Pressure-sensitive needles. Mysterious counterweights. Phono preamps that nobody warned you about. Anti-skate dials that sound like they belong on a snowboard.
Take a deep breath. By the end of this guide, your turntable will be singing like a dream, your records will sound their absolute jaw-dropping best, and you'll have the swagger of someone who set it all up themselves — no audiophile dad required.
> ### "Vinyl isn't just a format — it's a feeling. The moment that needle drops, you're not just listening to music. You're holding history in your hands."
Why Vinyl Is Having Its Biggest Moment in 40 Years
THE STAT THAT SAYS IT ALL
Vinyl record sales have grown for 17 consecutive years, outselling CDs since 2020 — a comeback nobody saw coming when MP3s took over in the early 2000s. In 2023 alone, 49.6 million vinyl records spun off store shelves in the U.S.
But numbers don't tell the whole story. People are choosing vinyl because:
- It sounds warmer — analog audio captures emotional nuances digital often flattens
- It looks gorgeous — those 12-inch album covers are bona fide art
- It slows you down — no skipping, no shuffling, just pure, intentional listening
- It builds a collection you can hold — files vanish into the cloud; records last lifetimes
- It's a conversation starter — "come over and listen to this album" is back, baby
Watch It Done Right: Turntable Setup in Action
Sometimes seeing is believing. Before we dive into the step-by-step, here's a fantastic visual walkthrough that brings every concept in this guide to life:

What You'll Need Before You Begin
Before we drop the needle, let's make sure your audio dream team is ready to play. Here's your essential gear checklist — your launching pad into vinyl nirvana.
The Essential Equipment Lineup
| Component | What It Does | Beginner Budget |
|---|---|---|
| Turntable | Spins the record, reads the grooves | $150 - $500 |
| Cartridge & Stylus | The needle that reads micro-vibrations | Often pre-installed |
| Phono Preamp | Boosts the cartridge's whisper-quiet signal | $50 - $200 (or built-in) |
| Amplifier/Receiver | Powers your speakers with muscle | $100 - $400 |
| Speakers | Transforms electricity into sonic bliss | $150 - $500 per pair |
| RCA Cables | The unsung heroes connecting it all | $10 - $30 |
PRO TIP — SAVE YOURSELF A HEADACHE: Many modern turntables come with a built-in phono preamp, which means one less piece of gear to wrestle with. Check your turntable's back panel — if you spot a switch labeled "PHONO/LINE," you're already ahead of the game.
Step 1: Find the Perfect Spot for Your Turntable
Location matters more than you think. Your turntable is essentially a precision instrument — and like any precision instrument, it hates three things with a burning passion: vibrations, heat, and direct sunlight.
The Golden Rules of Placement
- Rock-solid surface — A sturdy, level shelf or dedicated audio stand is non-negotiable. A wobbly IKEA cabinet will absolutely murder your sound.
- Far from your speakers — Speaker vibrations travel through floors and walls, creating feedback loops that make records skip. Aim for at least 3 feet of separation.
- Out of direct sunlight — UV rays warp records and degrade the turntable's drive belt over time. Tucked-away spots are best.
- Perfectly level — Use a small bubble level. Even a 1-degree tilt affects tracking and accelerates stylus wear.
- Cool and dry — Avoid placing it near radiators, fireplaces, or humid bathrooms.
QUICK WIN: Can't avoid a slightly bouncy floor? Place your turntable on a thick slab of granite or a dedicated isolation platform. Audiophiles swear by it, and your wallet will thank you compared to upgrading the whole rig.
Step 2: Assemble Your Turntable Like a Pro
Most turntables ship in pieces — not because the manufacturer is lazy, but because the components are too delicate to ship pre-assembled. Let's put yours together properly, calmly, and without breaking a sweat.
The Assembly Checklist
- Remove all packing materials — Including those sneaky little stylus protectors and tonearm twist-ties. Miss one, and you'll be hunting for the cause of weird noises later.
- Place the platter — Carefully set the heavy round platter onto the spindle. Use both hands. Treat it like a newborn.
- Attach the belt (if belt-driven) — Loop it around the motor pulley underneath the platter. This is where 90 percent of beginners get stuck — go slow, and double-check it's not twisted.
- Add the slipmat — That felt, rubber, or cork disc that sits between platter and record. It's not just decoration — it dampens vibration.
- Install the cartridge — If it's not pre-installed, carefully thread the tiny screws into the headshell. Hand-tight, then a quarter-turn more.
- Connect the headshell to the tonearm — Twist the locking collar until snug. Not Hulk-tight. Just snug.
EXPERT WARNING: Never, ever touch the stylus tip with your fingers. The natural oils on your skin can damage the diamond and dramatically shorten its lifespan. If you need to clean it, use a dedicated stylus brush and gently sweep back to front — never side to side.
Step 3: Balance the Tonearm (The Step Everyone Fears)
This is the part where most beginners panic. Don't. Balancing a tonearm is like learning to ride a bike — terrifying at first, second-nature in five minutes.
The Balancing Act, Demystified
- Set anti-skate to zero — That little dial near the base? Spin it to 0.
- Float the tonearm — Gently swing the arm over the platter (not on a record). Adjust the rear counterweight until the arm floats perfectly horizontal — neither sinking nor rising.
- Zero the scale — Without moving the counterweight, rotate just the numbered ring until "0" lines up with the indicator mark.
- Dial in tracking force — Turn the entire counterweight forward until the indicator shows your cartridge's recommended tracking force (usually between 1.5 and 2.5 grams).
- Match anti-skate to tracking force — If you set tracking force to 2.0g, set anti-skate to 2.0.
KEY TAKEAWAY
Tracking force is the single most important setting on your turntable. Too light, and the stylus skips and damages records. Too heavy, and it grinds down both stylus and groove. Get this right, and everything else falls into place.
Step 4: Connect Everything (Without Losing Your Mind)
Here's where the cables come in. Take a breath — this is easier than IKEA furniture.
The Connection Roadmap
- Turntable to Phono Preamp — RCA cables (red and white) from the back of the turntable into the preamp's input. Don't forget the ground wire — that thin copper strand screwed to a small post. Skip it, and you'll hear a maddening hum.
- Preamp to Amplifier — Another set of RCA cables into any "line" or "aux" input on your amp or receiver.
- Amplifier to Speakers — Speaker wire, red to red, black to black. Keep polarity consistent or your soundstage will collapse.
- Power up last — Always plug in and power on your gear after everything is connected. Live connections can cause nasty pops that damage tweeters.
PRO TIP: If your turntable has a built-in preamp, set the switch to "LINE" and connect directly to your amplifier. If you're using an external preamp, switch your turntable to "PHONO" mode.
Step 5: Drop the Needle and Listen to Magic
The moment of truth. Slide a record onto the platter. Cue up the tonearm. Hit play.
As the needle settles into the groove and that first crackle gives way to music, you'll understand why millions of people have fallen back in love with vinyl. This isn't nostalgia — it's audio at its most intimate, most honest, most human.
Your First Listening Checklist
- Does the music sound clear, not muffled or distorted?
- Is the volume balanced between left and right speakers?
- Are there any unwanted hums, pops, or skips?
- Does the tonearm track smoothly without bouncing?
Common Beginner Mistakes (And How to Dodge Them)
| The Mistake | The Fix |
|---|---|
| Skipping the ground wire | Always connect it to your preamp's ground post |
| Setting tracking force too low | Use a stylus gauge for accuracy (a $20 lifesaver) |
| Cheap speaker placement | Pull speakers 1-2 feet from walls for true imaging |
| Storing records flat | Always store them vertically to prevent warping |
| Forgetting to clean records | Use a carbon-fiber brush before every play |
Your Vinyl Journey Starts Now
You did it. Your turntable is set up, dialed in, and ready to deliver thousands of hours of sonic joy. From here, the rabbit hole is deep and delicious — better cartridges, upgraded preamps, isolation feet, dust covers, record cleaning machines, crate-digging trips to dusty thrift stores at dawn.
But tonight? Tonight, you've earned it. Pour something nice, dim the lights, and let the music carry you somewhere new.
Welcome to the club. Your record collection awaits.
Key Takeaways
- Choosing the right how to set up a turntable means matching capacity and output ports to your actual devices
- Always check actual watt-hours (Wh), not just watts — runtime depends on Wh, not peak output
- Also covers: turntable setup for beginners
- Also covers: connect turntable to speakers
- Also covers: phono preamp setup
- Compare price-per-Wh across models to find the best value for your budget